Fabulous header picture from i.Anton
Showing posts with label easy. Show all posts

Wednesday, April 27, 2011

Easy Dessert Decor

I love festive decorations. I think balloons can make a party and I always look at what's on the table.
Now don't get me wrong, I don't care if there's nothing at the party but my friends, food, and wine!

I wanted to make my dessert for Easter a little bit more festive for the table. After working with stamps lately I thought it would be a fun touch to add a Happy Easter topper to the cake.

All you need for this is:
-Toothpicks
-Stamp Pad
-Stamp
-Paper
-Tape
-Pen

Just stamp the image on the paper.


Cut around the shape.


Write whatever your heart desires.


Tape a toothpick on the back.


Ta-Da! You're done!


And same goes for the eggs...I just cut out the shapes, taped, and jammed them into the cake haha

I plan on making something similar to this for my brother's wedding shower.

Monday, April 11, 2011

Easy Embossing

A while back I decided I was going to make the invitations for my brother & his fiance's shower. This then prompted a visit to Michael's and assisting Ms. Stewart in adding to her ridiculous fortune. I will hand it to her...I wanted every single one of her craft pieces.


ANYWAY... I've decided that I'm going to emboss the invitations. Not the entire invitation as that would take so much time (and mini letters) but an image and then A's name on the invite.

In the middle of buying a bunch of stuff for these invites I found adorable initial stamps (you know my weakness for my initial...) so I bought a bunch for my family and friends. I then made them some cute stationery that was so easy to make and if I do say so myself, effortlessly cute.


The finished product. A nice surprise to send J!


Stamps for my friend J's stationery. Plus the stamp pad that is clear and acts like a glue for the powder.

1. Firmly press the stamp onto the embossing pad, then onto your card. Be careful not to roll the stamp back and forth.


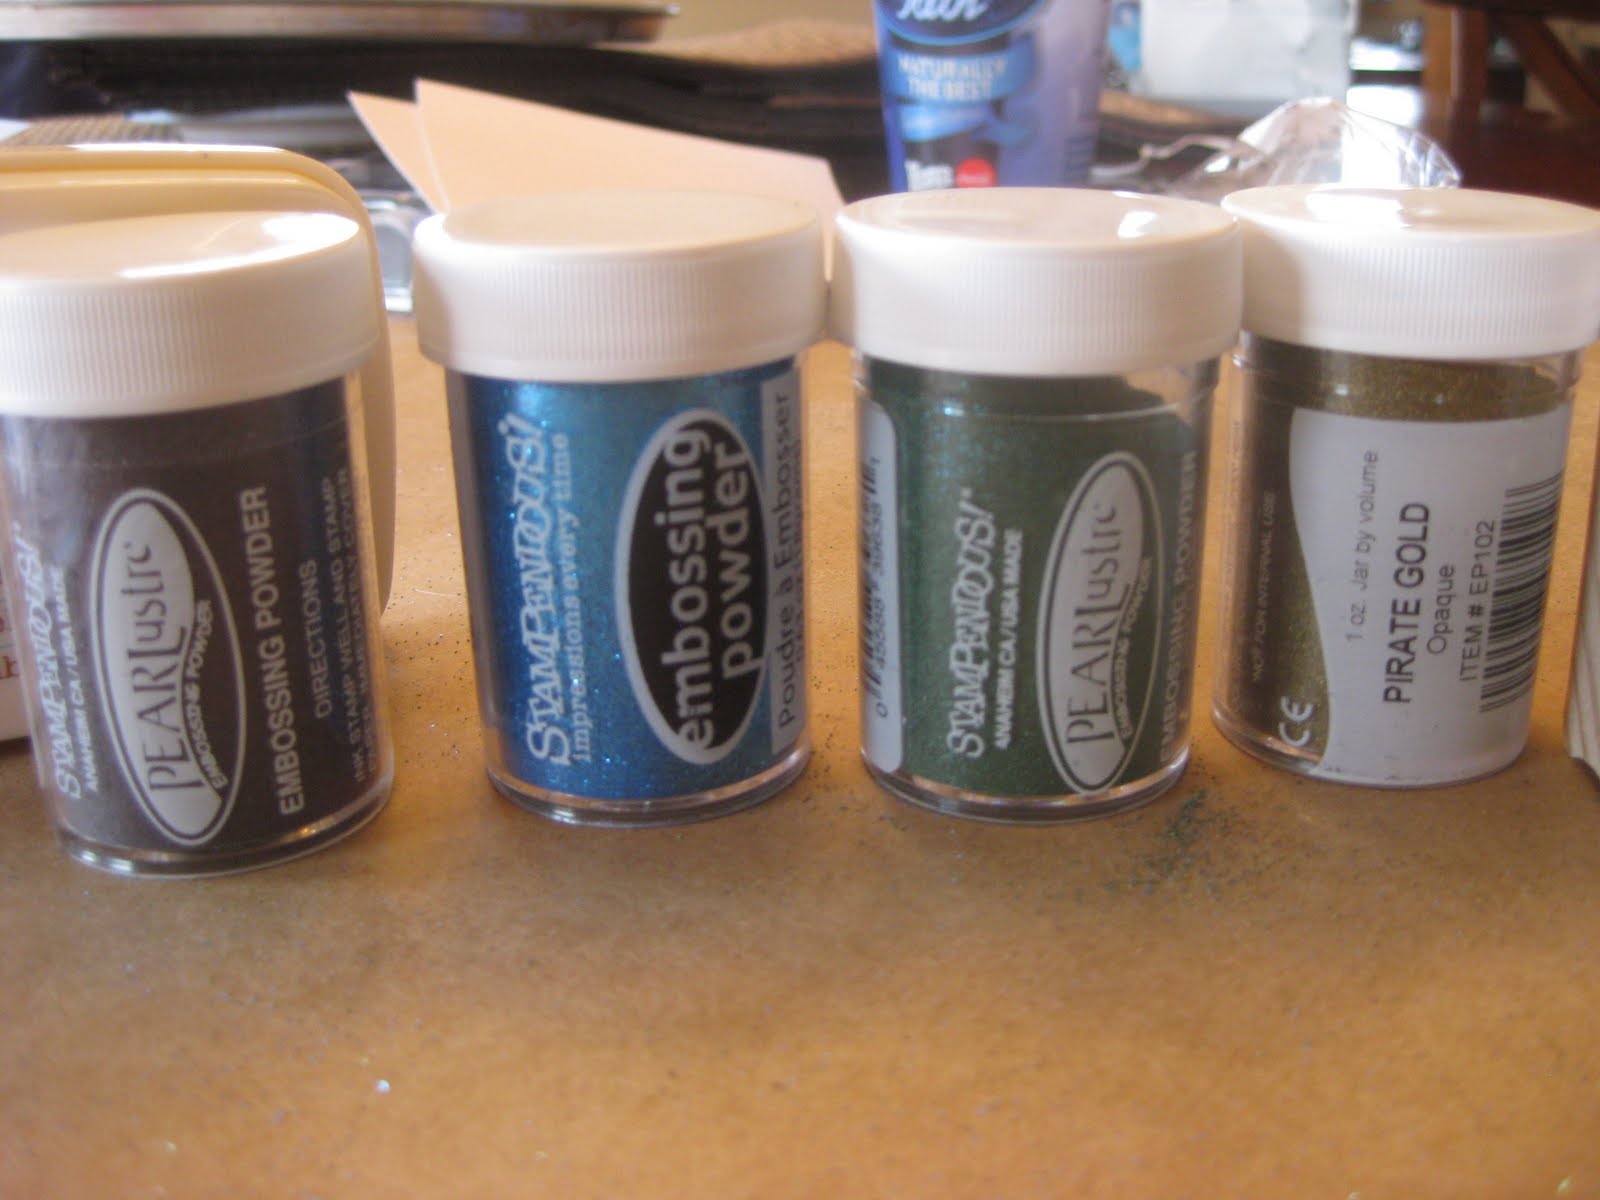
Pretty embossing colors!

2. Sprinkle embossing powder over the stamped image on your card. Dust off additional powder surrounding the image. Anything you leave on the paper will adhere so this is very important to do!


Funny looking heating tool...

3. In circular motions holding the tool 2-3" above the image, go over the embossing powder until it sets. You will be able to see it change before your eyes.


Finished product!

I love the way embossing looks because it is raised off of the paper!


Have you ever embossed or used different methods to design cards and stationery?

I'll be sure to do a post of the invitations I make. So far I've narrowed it down to the design including a peacock feather!

Wednesday, September 29, 2010

Chocolate + Apples = Nom, Nom, Nom!

I love chocolate. I enjoy apples. I like to multi-task. Therefore chocolate covered apples make me smile.


What you'll need:
-Apples
-Chocolate Chips (I love dark chocolate)
-Wax Paper
-Small amount of oil
-Crush pecans, toasted coconut, anything you like.


-Slice your apples. I hope your core isn't crooked :::shudder:::


-Depending on how many apples you're making, put some chocolate chips in a microwavable bowl.
-Microwave in increments of 35 seconds to get the chocolate melting. Stir each time you take it out and when it's start getting gooey, you're good to go.


-Pour a very small amount of oil in the chocolate. Helps it to stick to the fruit and stay nice and purty.
-Dunk your apple in the chocolate. Twirl it around. Cover it completely. Cover a sliver. You choose!


-Roll in pecans or whatever if you'd like.
-Place on wax paper and place in fridge to harden.


-Store them in the fridge.

DEVOUR them and think to yourself, "damn, I am a domestic diva without even trying"

Tuesday, September 21, 2010

Effortless Enchiladas

I'm about to tell you the easiest way to make the tastiest chicken for enchiladas, tacos, nachos, whatever!

It is not only incredibly easy but it is so.darn.tasty. So here it is. Enjoy it...I know you will!

What you'll need:
-Crockpot
-3 frozen chicken breasts
-1 can of Rotel or diced tomatoes/green chilies
-1 package of taco seasoning


1. Mix Rotel and taco seasoning in a bowl.
2. Place FROZEN chicken in crockpot.
3. Dump Rotel/Seasoning mixture on top.
4. Cover, cook on low for 6 hours.
5. Pull the chicken apart with a fork...enjoy!

Is that easy or what?!?! Now, you can do just about anything with this meat. You can add it to a salad. You can make quesadillas. Tacos. Burritos. Whatever your heart desires.


Here is a super easy and tasty enchilada recipe.

Take 8 taco sized tortillas and fill them with chicken. Roll the tortillas and place in a baking dish with the seam side down. Top the enchiladas with a can of enchilada sauce. Sprinkle shredded cheese all over the top. Bake at 350 for about 10 minutes or until cheese is melted.


Top the enchiladas with a can of enchilada sauce. Sprinkle shredded cheese all over the top. Bake at 350 for about 10 minutes or until cheese is melted.


Then bust out a fork and knife and dive right in! This is seriously so easy and will take you a matter of 15 minutes to put everything together and then 6 hr 10 minutes to bake (hellllo cooking while at work!)

I LOVE the crockpot. (Sometimes I worry about myself.) Do you have any go-to crockpot recipes? Do share!!


And here I go crossing off # 1 on my fall to-do list I'm not going to blog about the process because it was quite the ordeal haha but I made it out alive and everyone enjoyed it!! And, no, we didn't eat enchiladas and apple pie. Gross.


I mean, I never said I was a pastry chef...haha and I got a little too cinnamon crazy on the middle. whoops!